Short answer: A useful Grok image prompt usually names the subject, action, setting, composition, lighting or mood, and any essential constraint in clear language. Start with the most important visual fact, avoid stacking conflicting styles, and generate a small batch. In Motion16, you can compare the results, attach references, and continue with a focused edit instead of rewriting the whole request after every miss.
Use a prompt structure you can actually remember
Begin with five building blocks: subject, action, setting, composition, and light. For example: a ceramic perfume bottle on wet black stone, viewed in a close product shot, with cool dawn light and soft mist. That sentence gives the model a scene, a camera decision, and a mood without pretending to be a technical specification sheet.
Add a constraint only when it protects the idea. You might ask for empty space on the left for copy, a plain label area, or one person in frame. Put essential constraints near the relevant instruction. A long final paragraph of negatives is easier for both you and the model to lose track of.
Make visual words do real work
Words such as beautiful, cinematic, and high quality are broad. Pair them with visible choices. Cinematic could mean a low camera, a wide frame, strong backlight, and shallow focus. Cozy could mean warm lamp light, soft textiles, close framing, and a quiet evening setting. Describe what a viewer could point to in the image.
Be careful with style piles. Asking for editorial photography, watercolor, 3D animation, documentary realism, and vintage film at the same time gives the model several competing destinations. Pick one main visual language and one supporting texture or mood. You can test a genuinely different style in another batch.
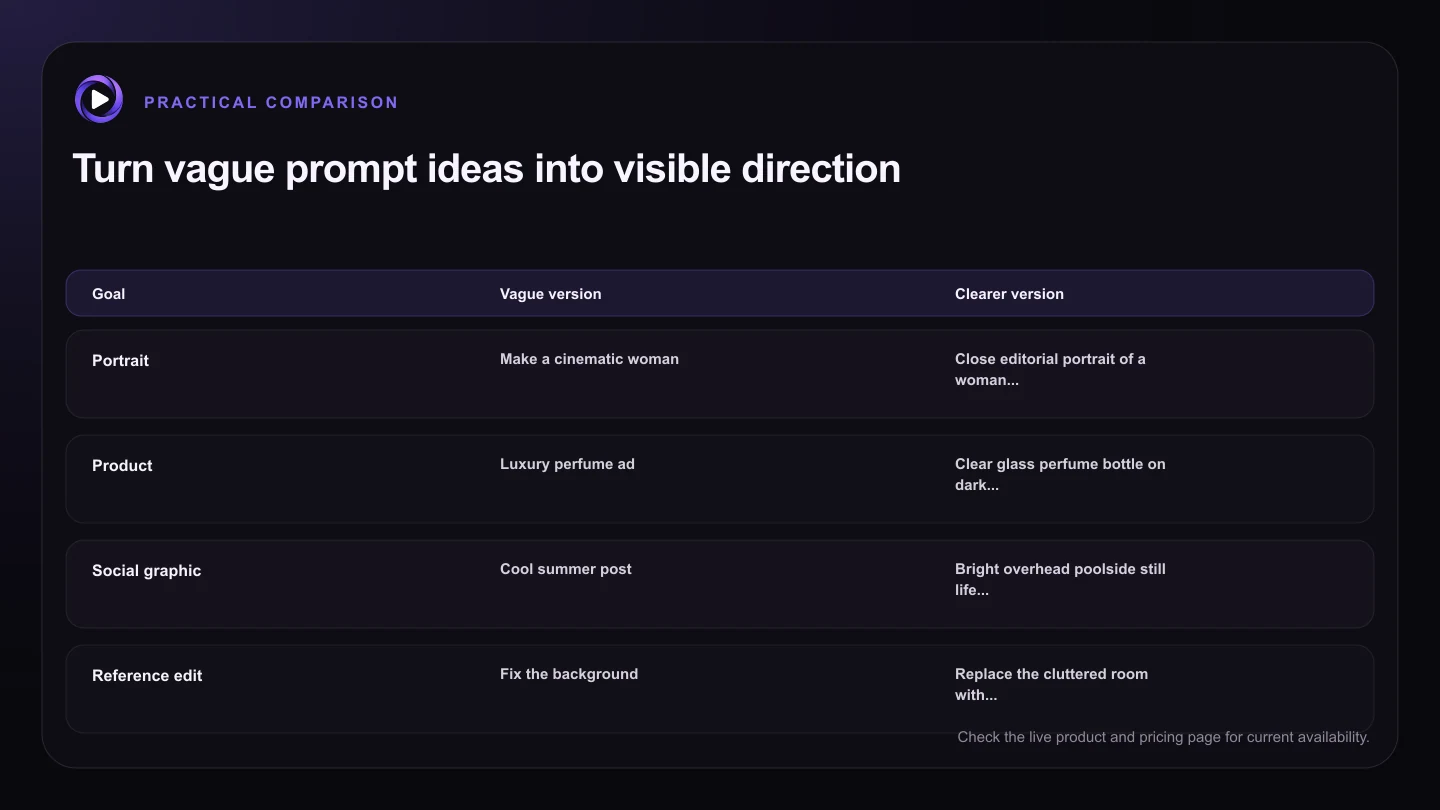
| Goal | Vague version | Clearer version |
|---|---|---|
| Portrait | Make a cinematic woman | Close editorial portrait of a woman by a rainy window, soft side light, muted blue room |
| Product | Luxury perfume ad | Clear glass perfume bottle on dark stone, low close shot, narrow rim light, space above for copy |
| Social graphic | Cool summer post | Bright overhead poolside still life with sunscreen, towel, citrus, and clean space on the right |
| Reference edit | Fix the background | Replace the cluttered room with a quiet cream studio and preserve the person, pose, and lighting |
| Storyboard | A scary scene | Wide night shot of an empty station as one ceiling light flickers above a waiting traveler |
Treat references as instructions, not decoration
When you attach an image, say what it should guide. It might provide the subject identity, product shape, pose, palette, composition, or material. If two references serve different jobs, state those jobs plainly. This reduces the chance that the model blends every visible detail into one confusing result.
A reference cannot rescue a contradictory request. If you want to preserve a face while changing the angle, hairstyle, age, expression, and lighting at once, identity may drift. Start with the smallest meaningful change, review it, and continue from the strongest source.
Refine the result instead of arguing with the prompt
After a batch finishes, ask what worked before focusing on the flaws. Perhaps the framing is right but the background is busy, or the mood is right but the subject is too small. Keep the successful decisions and change one or two visible problems in the next prompt. This makes each iteration informative.
When an image is close, use a focused edit. Ask to remove one object, open copy space, change one color, or adjust one expression while preserving the rest. If several batches keep failing in the same way, simplify the scene or improve the reference rather than adding more adjectives.
Write differently for text-to-image and editing
A text-to-image prompt needs to establish the whole scene. An edit prompt already has a scene, so it should identify the requested change and what should stay stable. Saying make this a rainy evening while preserving the person, pose, and camera is usually more useful than describing every visible object again.
The same principle applies when you plan to animate the result. Build a clean, readable still first. Leave complex motion directions for the video prompt, where you can separately describe what the subject does and how the camera moves.
Try this next
Prompt check before you send
- Lead with the main subject and action.
- Name the setting and camera framing.
- Describe light or mood with visible details.
- Use one main visual style instead of a style pile.
- Explain what each reference should guide.
- Keep successful choices and revise only the weak ones.
Frequently asked questions
Do longer Grok image prompts create better images?
Not automatically. A concise prompt with clear visual priorities often gives you a more understandable result and makes the next revision easier.
Should I use negative prompts?
Use constraints sparingly and only when they protect the concept. Clear positive direction and a better source image can be more effective than a long list of things to avoid.
What should I do when the image is almost right?
Keep the strongest result and request one focused edit. Rebuilding the entire scene can discard the composition, light, or character details that already worked.
Keep exploring: Read How Do You Write Better Grok Image-to-Video Prompts?, or check the current Motion16 plans and limits.